How to Make a Stitch Diary?
Crafting a stitch diary is an enjoyable way to document your creative journey. Not only does it provide you with a beautiful keepsake filled with memories, but it also serves as inspiration for future projects. Whether you are just starting or already experienced in the world of needlework, making your stitch diary can be fun and rewarding. In this article, I will take you through all the steps to create a stunning stitch diary – from gathering supplies to finishing touches!
Do you love stitching? Have you always wanted to put together something special to remember all your creations? Then why not make your very own stitch diary? This DIY project allows you to keep track of everything related to stitching while giving you endless possibilities for customization. From picking fabrics and designing layouts, there’s something truly satisfying about having your unique notebook full of stitches.
With so many options available, deciding what kind of stitch diary best suits your needs can initially seem daunting. But don’t worry – I’m here to help! Here’s how to get started on crafting the perfect stitch diary for yourself:
Benefits of Making a Stitch Diary
Discovering the world of stitching is like opening a box of delights. A stitch diary serves as an invaluable resource for tracking progress and pursuing creative ambitions, helping to ensure that enthusiasm doesn’t flag along the way. It’s no wonder many crafters find investing in one worthwhile!
From keeping track of techniques used, noting down design inspirations, or even saving snippets from fabric swatches – a stitch diary helps maintain focus on projects by capturing all these details. This allows us to look back over our work and gain perspective into our development – seeing how far we have come and taking inspiration for future projects.
Moreover, having each project documented can easily be shared with others, not just showing what we’ve made but also illustrating the journey taken while creating it. Whether online through social media or in print as part of an exhibition, a stitch diary makes sure our crafty accomplishments are remembered!
Essential Supplies for Making a Stitch Diary
Making a stitch diary is like embarking on an exciting journey – it will take you through the ups and downs of your stitching progress. Before beginning, however, there are some essential supplies you must have to make sure your experience is as enjoyable as possible.
First, you’ll need plenty of fabric for all those creative ideas! Choose from quilting cotton, linen, or even wool, depending on what project you’re working on. It would be best if you also opted for needles with big eyes to fit easily over thicker threads; this will help reduce eye strain while doing intricate work. Of course, don’t forget to grab some quality scissors, too – these will often be used when trimming bits of thread or cutting out shapes.
Finally, pick up some embroidery hoops in various sizes – this help keeps the fabric taut while stitching, making everything much easier (and neater). Depending on how many projects you plan to do at once, consider getting several spools of different colored threads, too; this way, you won’t get stuck without the right hue when inspiration strikes!
Getting prepped with these essentials means you’re ready to set up your stitch diary and start tracking your progress like never before!
Setting up Your Stitch Diary
Once you have all the essential supplies for making a stitch diary, it’s time to set it up. This involves preparing the notebook and materials ready for use. Begin by deciding how many pages you’ll need for each project; this will depend on the type of stitching projects you plan to record in your diary. I recommend having at least one page per project so that there is plenty of space for detailed notes, sketches, and photos.
Next, prepare your journal cover to ensure everything looks neat and tidy. You can do this with some simple craft paper or fabric – or if you want something extra special, try using scrapbooking stickers! Once done, cut out any excess material from around the edges and add a label with your name or initials on the front cover so that no one else uses it.
Finally, please choose an appropriate pen or pencil to write details about your stitching projects as they progress. A good quality archival pen is ideal since these won’t smudge when wet and won’t fade over time either – perfect for preserving memories of all those happy stitches! With everything now set up and ready to go, it’s time to start recording all those stitching projects.
Recording Your Stitching Projects
Recording your stitching projects is the most crucial part of making a stitch diary, and it’s essential to keep track of each one so you can look back and see how far you’ve come. With that in mind, write down as much detail as possible regarding what project you’re working on, when it was started and completed, which materials were used, any patterns or techniques involved, etc. Take pictures along the way, too – they’ll help capture progress if there are changes over time.
As for recording this information, I find it helpful to jot notes directly into my stitch diary before or after completing a project; whichever works best for me. That way I’m sure not to forget anything! And if I do need extra room for details, I add a page with more info. You could also use digital tools like apps or spreadsheets if that makes things easier.
Whatever method you choose, ensure it fits your needs and keeps everything organized and up-to-date. This will save you plenty of time later when remembering specifics about past projects or looking through photos from months ago! Now that we have properly recorded all our projects in our stitch diaries let’s talk about using them.
Using Your Stitch Diary
I’m sure you can already imagine the feeling of having a beautiful finished project that is documented in your stitch diary. Each time I open my notebook and look back at what I have accomplished, it feels like a celebration – taking me through a journey to remember each step with pride.
My stitch diary has become an essential part of planning and tracking projects:
- It helps me organize ideas by listing fabrics, threads, needles, techniques, and patterns.
- It also serves as a guide for my progress so far while reassuring me when faced with difficult decisions along the way.
- Finally, it’s great for record keeping – making notes on any mistakes or successes so that I can refer back to them again later!
In addition to being practical, having my stitch diary adds an extra layer of meaning to my stitching experience; it reminds me why I started this project in the first place and keeps me motivated until completion. From documenting every detail to reflecting on how much further I’ve come – all these moments are captured within the pages of my beloved notebook.
Conclusion
Wrapping up my stitch diary journey has been both exciting and sad. It’s incredible to have created something so beautiful with just a few simple materials, but it’s also hard to let go of the creative project I’ve spent weeks on! As someone who loves crafting and journaling, this experience was extraordinary for me – from brainstorming ideas, gathering supplies, designing patterns, and piecing everything together – it all felt like an adventure!
To keep your stitch diary in its best condition for years to come:
- Remember to store it somewhere cool and dry, away from direct sunlight or other heat sources.
- Be sure not to stretch out yarns too much when stitching them onto the fabric, as this could weaken their fibers over time.
- Consider using a sealant spray after putting everything together; this will help protect your work while preserving its vibrancy and color.
All in all, making a stitch diary was such a rewarding experience! I now have a unique piece of art that reflects my personality, and I also learned new skills along the way – which is always gratifying. Whether you’re looking for some therapeutic downtime or want to make something pretty to hang around your house – creating a stitch diary can give you what you need.
Frequently Asked Questions
What Is The Best Type Of Fabric To Use For A Stitch Diary?
Creating a stitch diary is like weaving a tapestry of your life, and it’s a unique way to document and remember all the special moments in our lives. But what type of fabric will best help you create that perfect memory quilt?
The first thing to consider is the durability of the material. You want something strong enough to withstand wear and tear over time so it can stay with you for years. Natural fibers such as cotton or linen are good choices because they’re both long-lasting and breathable. On the other hand, synthetic fabrics may be more affordable but won’t last as long as natural ones.
Another factor to consider is how easy the fabric is to work with. If you plan on doing intricate embroidery designs or adding embellishments, opt for lightweight materials that are easier to handle and manipulate into complex patterns. Fabrics such as muslin or chiffon also offer extra flexibility when stitching small details. No matter which fabric you choose for your project, always ensure it’s soft and comfortable against your skin – this piece of art will be close to your heart!
How Often Should I Update My Stitch Diary?
Creating a stitch diary is a great way to document your journey in learning the art of stitching. It’s essential to keep up with it and update it regularly to track your progress, but how often should you do this?
Regularly updating your stitch diary will ensure that you capture all the details of what you are doing and give yourself something to look back on as reference material. Updating it once every few days or even weekly is sufficient, depending on how much time and effort you put into each project. This way, you’ll see exactly where you started from and how far along you’ve come!
Remember: no matter how busy life gets, always make sure that your stitch diary gets updated at least once a week for the best results. Keeping these regular updates allows for an accurate reflection of what has been achieved and highlights areas that could benefit from further improvement. Taking the time to assess our work helps us grow more as stitchers- making each new piece better than the last!
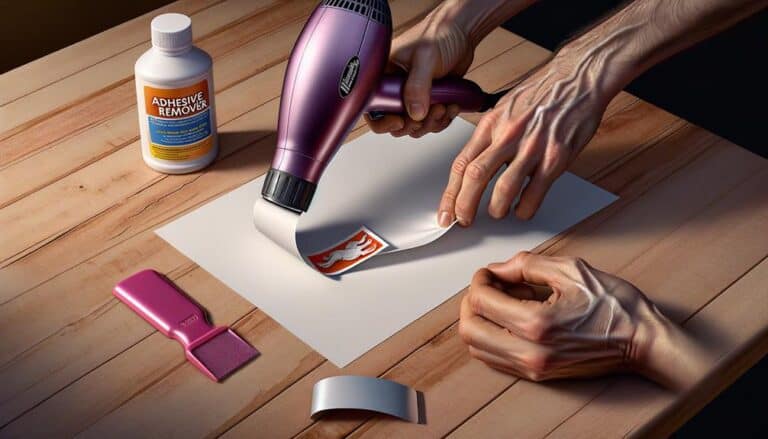
How Can I Store My Stitch Diary Safely?
Storing your stitch diary safely is key to ensuring that all the hard work you put into it doesn’t go to waste. When deciding what type of storage works best for you, there are a few things to consider.
First, consider how much space you have to store your diary. If you’re tight on space or don’t want to take up too much room in your home, digital storage might be a good option. You can save documents and images online using cloud services like Dropbox or Google Drive, making them accessible from anywhere with an internet connection. Make sure that these files are encrypted if they contain sensitive information!
If physical storage is more your style, make sure that whatever container/box/binder, etc., you use has been properly sealed against dust and water damage – this will help protect the contents even if held in less-than-ideal conditions. It’s also important to label everything clearly so that you can easily find what you need when needed without digging through piles of stuff. You should keep backups just in case something happens to the original copies, either digitally or physically stored away somewhere safe and sound (such as in a bank safety deposit box).
No matter how you store your stitch diary, taking some extra steps now could save you time and stress down the road!
Are There Any Special Tools I Need To Make A Stitch Diary?
Making a stitch diary is a trendy hobby among crafters, with over 70 million worldwide participating in the activity. While it can be a fun and creative way to express yourself, there are specific tools you should consider getting if you want to make your stitch diary.
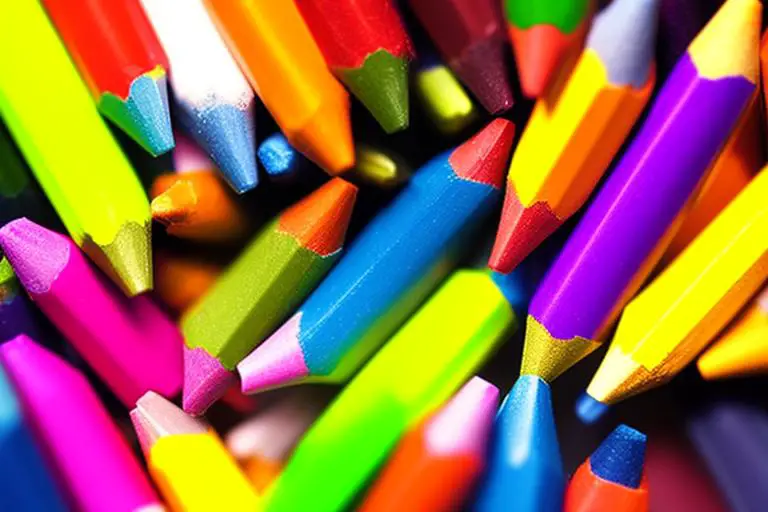
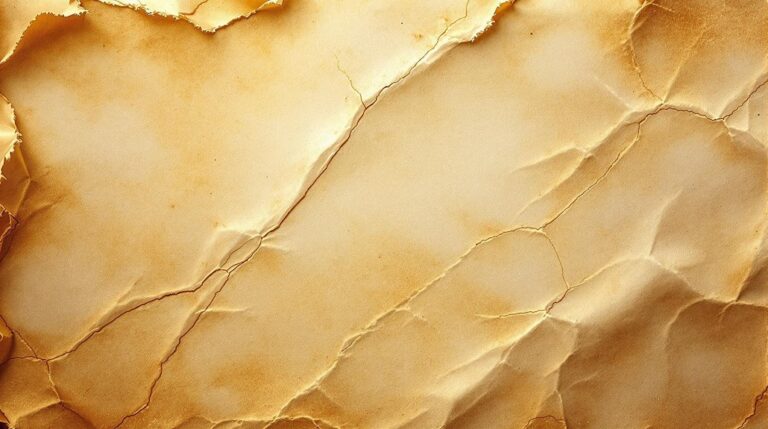
Quality paper is one of the most important supplies for making a stitch diary. Choose thick stock paper so your stitches won’t bleed through or get distorted when wet. You may also need additional items such as pens, markers, colored pencils, fabric glue, and scissors, depending on your type of stitching project.
If you’re planning on keeping track of all your completed projects or even just starting with some simple embroidery, having a few specific tools will help keep everything organized while still giving you plenty of room to explore different ideas. A sturdy sketchbook will be great storage for all your sketches and drawings – plus extra pages to work out any designs before putting them onto fabric. Additionally, investing in good-quality needles and thimbles can ensure that your finished pieces look neat and professional. With these basic materials, you’ll be ready to embark on endless stitching adventures!
How Can I Make My Stitch Diary Unique?
Creating something unique is always a challenge. To make your stitch diary stand out, there are many avenues you can explore – and it all starts with the right mindset. With creativity as my guide, let’s dive into how to craft a one-of-a-kind stitch diary!
Firstly, get inspired by exploring different mediums. Why not try making an embroidered fabric cover for your diary? Or use ribbons of various colors and textures to bind pages together? Crafting your own artwork or collages from paper scraps could be another way to personalize it. There are plenty of ideas online if you need more inspiration too.
Second, experiment with materials. Once you have some design ideas, start gathering the items that will bring them to life – like paintbrushes, glitter glue, and colored papers. Get creative here – don’t be afraid to mix media, such as combining writing and drawing on the same page! The possibilities are endless, so search thrift stores or garage sales and see what treasures you find that might help turn your stitches into something special.
Your imagination is key when designing any project; use this opportunity to express yourself freely without judgment! Remember that mistakes are part of the process– they add character and often give us unexpected surprises along our journey toward creating something truly original.
Closing Words
The creation of a stitch diary is an enjoyable and rewarding experience. With the right fabric, tools, and imagination, you can create something truly special that will last for years.
Imagining myself sitting at my desk with needle and thread in hand brings me great joy. I begin by selecting the perfect piece of fabric—something soft yet sturdy that holds up against wear and tear. Then I carefully select each color thread while imagining how they’ll look when stitched together on the page. As soon as I complete one page, I move on to the next, creating intricate patterns and designs that reflect who I am at this moment in time.
My stitch diary isn’t just a collection of memories or moments; it’s also a source of comfort during difficult times when words are hard to find. Stitching helps keep me grounded in what matters most when life feels overwhelming: living life intentionally and fully expressing who I am. It reminds me that no matter where life takes me, I have the power to create something beautiful from within myself.