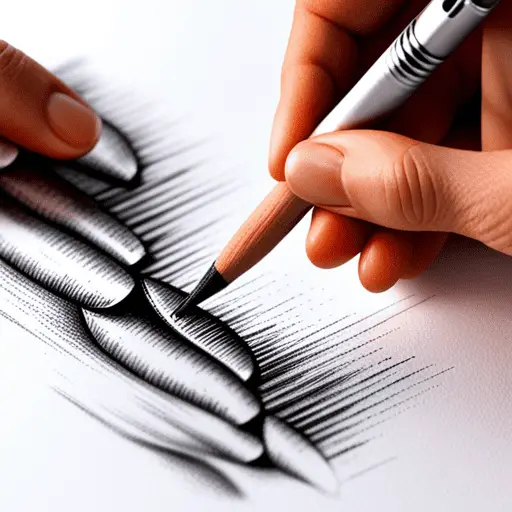
Master the Art of Shading with These Pencil Lead Tips
If you’re an aspiring artist or have a passion for drawing, mastering the art of shading is a crucial skill to develop. Shading brings depth, dimension, and realism to your drawings and can distinguish between mediocre and truly exceptional pieces of art.
Fortunately, with the right tips and techniques, anyone can improve their shading skills and take their artwork to the next level. In this article, you’ll learn everything you need to know to master shading with pencil lead.
From understanding pencil lead grades to using pressure to control shade, crosshatching, and other shading techniques and creating realistic textures, you’ll discover the secrets to creating stunning and lifelike drawings. With practice exercises to help you improve your shading skills, you’ll soon be able to create artwork that truly stands out.
So grab your pencils, and let’s get started!
Key Takeaways
- Understanding pencil lead grades is crucial for achieving desired shading effects.
- Experimenting with different shading techniques and blending tools can create unique and stunning drawings.
- Mastery of blending techniques is essential for advanced shading.
- Practice and using references are necessary to become a master in shading.
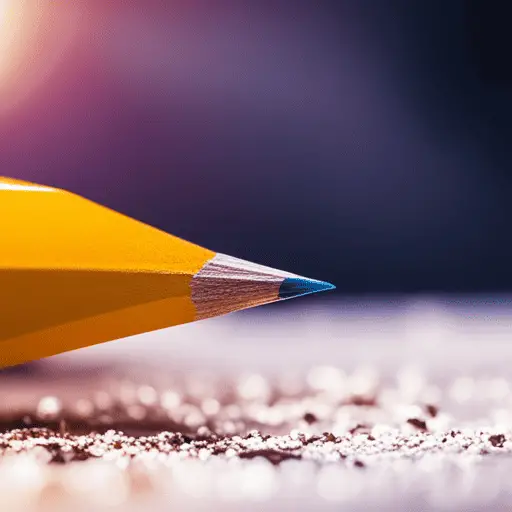
Understanding Pencil Lead Grades
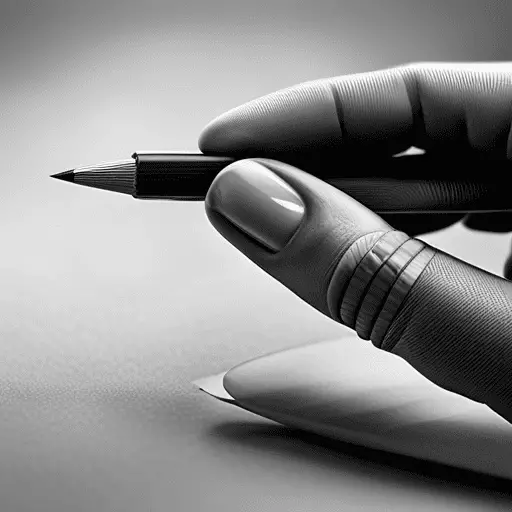
Understanding the varying degrees of pencil lead grades is crucial to achieving the desired shading effects. Different types of pencils for shading have different lead grades, which indicate the hardness or softness of the lead.
The softer the lead, the darker the shade it produces, while the harder the lead, the lighter the shade. For example, a 9H pencil will produce a very light shade, while a 9B pencil will produce a very dark shade.
Furthermore, techniques for blending pencil lead can also affect the shading effect. Blending involves smoothing out the lines the pencil leaves to create a seamless, even shade. This can be achieved using a blending tool, such as a tortillon or blending stump, or even your finger.
Understanding these techniques and experimenting with different pencil lead grades and blending methods can help you master the art of shading. Using pressure to control shade is another important aspect, which we’ll discuss in the next section.
Using Pressure to Control Shade
To achieve depth and dimension in your drawings, it’s important to vary the pressure of your pencil strokes. Varying your strokes can help you create a range of shades from light to dark. You can start with a light touch and gradually increase the pressure as you move your pencil across the paper.
To help you understand the different shades you can achieve, here’s a table that shows how varying pressure affects pencil lead:
| Pressure | Shade | Effect |
|---|---|---|
| Light | Light | Delicate, subtle |
| Medium | Medium | Bold, expressive |
| Heavy | Dark | Dramatic, intense |
| Very Heavy | Darkest | Almost black |
In addition to varying strokes, smudging techniques can help you create interesting textures and effects in your shading. You can create a soft, blended look that adds depth and dimension to your drawing by gently rubbing your finger or a blending tool over your pencil strokes—practice using different pressure and smudging techniques to find the best style for you.
As you become more comfortable with varying pressure and smudging techniques, you can explore other shading techniques, such as crosshatching. This technique draws intersecting lines at different angles to create a textured, shaded effect. You can create truly unique and stunning drawings by combining different shading techniques.
Crosshatching and Other Shading Techniques
If you want to take your shading skills to the next level, try experimenting with crosshatching and other techniques that can add depth and texture to your drawings, giving them a dynamic edge that will make them stand out.
Crosshatching involves drawing multiple sets of parallel lines that cross over each other, creating a denser and darker shade. Stippling, on the other hand, is a technique that uses small dots to create shades and textures. By varying the density and size of the dots, you can create a range of shades and textures.
When shading, it’s important to consider different lighting scenarios and how they affect how shadows fall on objects. For example, in bright sunlight, shadows tend to be sharper and more defined, while in low light, shadows are softer and more diffuse. You can create more realistic and dynamic drawings by adjusting your shading technique to suit the lighting scenario.
With these shading techniques, you can bring your drawings to life and create a sense of depth and texture that will captivate your audience.
Moving on to the next section, let’s explore how to create realistic textures in your drawings.
Creating Realistic Textures
Get ready to bring your drawings to life with realistic textures that’ll make your audience double-take. Here are three essential tips to help you create the most realistic textures with your pencils:
- Start by practicing your hatching and crosshatching techniques. These basic techniques are the building blocks of shading, and they can help you create a range of textures, from smooth and subtle to rough and gritty.
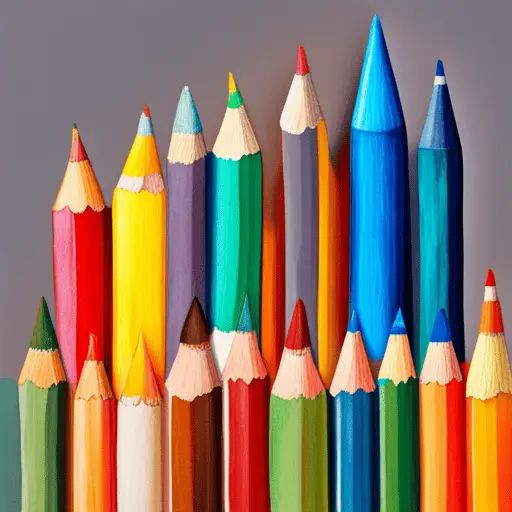
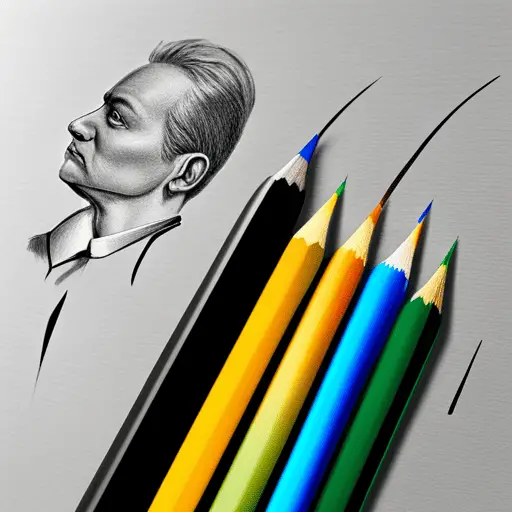
- Experiment with different pencil leads. Different types of lead can create different textures, so investing in various pencils is worth finding the ones that work best for you.
- Use blending techniques to create a smooth transition between different textures. Blending with your fingers, a blending stump or a tortillon can help you create a more natural and realistic look.
With these texture creation tips and blending techniques, you can take your shading to the next level and create drawings that look ready to jump off the page. But before you start, remember that practice makes perfect. Keep practicing these techniques until they become second nature, and you’ll be well on your way to mastering the art of shading.
Now that you know how to create realistic textures, it’s time to put your skills to the test with some practice exercises. These exercises will help you improve your shading skills and give you the confidence to create amazing drawings.
Practice Exercises to Improve Your Shading Skills
Are you ready to take your shading skills to the next level?
In this subtopic, we’ll discuss three key points to help you improve your shading: basic shading exercises, advanced shading exercises, and using references to enhance your shading.
By practicing these exercises and techniques, you can create more realistic textures and bring your drawings to life.
Get ready to unleash your shading potential!
Basic shading exercises
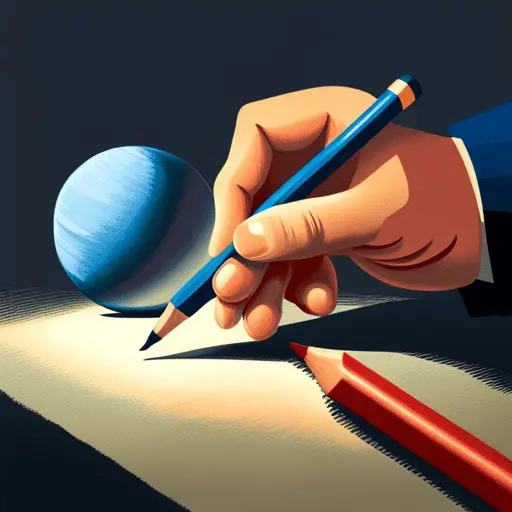
Let’s dive into some basic shading exercises to help you master shading with pencil lead! Before we begin, make sure you have a good understanding of value scale and blending techniques. These two skills are crucial to achieving realistic shading in your art.
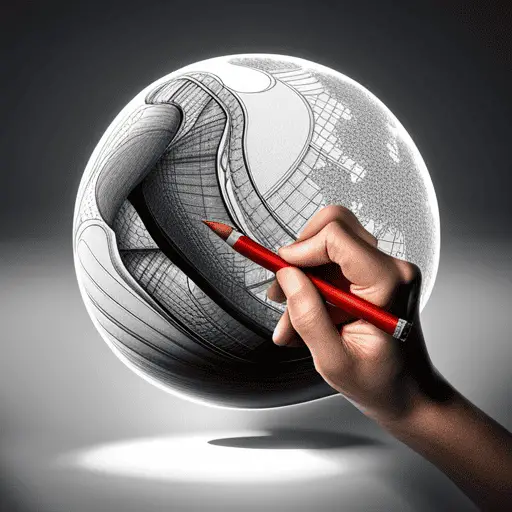
To start, try shading a simple sphere. Begin by lightly sketching the outline of the sphere, then create a gradient of tone from light to dark. Use the table below to guide you in creating a smooth transition between each shade. Take your time and practice blending the tones together with your pencil. Once you feel confident with this exercise, move on to shading more complex shapes like cubes and cylinders. Remember, practicing regularly and taking time to achieve the desired result is the key to mastering shading.
| Shade | Pencil Pressure |
|---|---|
| Highlight | Light |
| Light | Light-Medium |
| Midtone | Medium |
| Shadow | Medium-Heavy |
| Cast Shadow | Heavy |
You can incorporate more advanced exercises into your practice routine as you become more comfortable with basic shading techniques. The next section will explore some challenging shading techniques to help take your art to the next level.
Advanced shading exercises
Take your shading skills to the next level by experimenting with different textures and patterns, allowing you to create stunning works of art that capture the essence of your subject.
Advanced shading exercises require mastering blending techniques, including layering pencil strokes to create varying values. You can use circular, diagonal, or cross-hatching strokes to achieve different textures depending on the effect you want to achieve.
Another essential aspect of advanced shading is understanding the light source. To create realistic shading, you need to identify the direction and intensity of the light source and use it to determine where the shadows and highlights fall. Doing this lets you create depth and dimension in your artwork, bringing your subject to life.
Learning these advanced techniques will help you take your art to the next level, and with practice, you’ll become a master in your craft. Using references to improve your shading is another useful tool, helping you achieve greater accuracy in your artwork.
Using references to improve your shading
Now that you’ve mastered the advanced shading exercises, it’s time to take your skills to the next level. One way to improve your shading technique is to use photographs or still-life references. This allows you to study the objects closely and replicate the shading more accurately.
Using a photograph reference is especially helpful when drawing a portrait or a landscape. You can pay attention to the subtle changes in lighting and shadow and use that knowledge to create a more lifelike drawing.
Similarly, a still-life reference can help you understand how light interacts with textures and shapes. You can experiment with different pencils and shading techniques to capture the nuances of the object.
So, the next time you want to improve your shading skills, try using a reference and see the difference it makes in your artwork.
Frequently Asked Questions
Conclusion
Congratulations! You’ve mastered the art of shading with these pencil lead tips. By understanding pencil lead grades and using pressure to control shade, you can create beautiful and realistic shading in your artwork.
But don’t stop there, there are plenty of other shading techniques, such as crosshatching and stippling, that you can experiment with to take your shading to the next level.
It’s not just about the techniques, it’s also about the details. By paying attention to the textures in your subject and recreating them with your pencil strokes, you can create truly lifelike drawings.
Don’t forget to practice! By doing exercises designed to improve your shading skills, you can refine your technique and become a true master of shading.
So go forth, armed with your pencils and newfound knowledge, and create beautiful works of art that will leave your audience in awe. Remember, the key to great shading is patience, practice, and a passion for the art.
Keep honing your skills, and you’ll be amazed at what you can accomplish. Happy shading!