Revive Your Fountain Pen: Quick Writing Solutions
The pen is indispensable for many professionals, artists, and enthusiasts in writing instruments. Yet, its reliability is sometimes compromised when it unexpectedly fails to perform its primary function: to write. The causes of such failures are manifold and can range from the mundane to the complex.
We will explore the intricacies of pen mechanics and the solutions available to rectify these issues with efficacy and ease. We’ll discuss various techniques, from the simple act of stimulating ink flow with a quick shake to the more involved process of cleaning or replacing the nib.
When you understand the underlying problems and the corresponding fixes, you can revive a stagnant pen and extend its longevity. As we proceed, we shall uncover how a systematic approach can effectively address these challenges, ensuring that your pen is not merely a tool but a reliable companion in your writing endeavors.
Key Takeaways
- Dry ink can be resolved by shaking the pen or applying heat.
- Cleaning the tip is necessary for a clogged pen.
- Damaged nibs may need to be replaced.
- Ink leakage can be addressed by inspecting and cleaning the pen’s interior.
Identifying Fountain Pen Problems

Before attempting to fix a malfunctioning pen, it is crucial to identify accurately the underlying problem affecting its performance. Common issues include dry ink, which can be resolved by stimulating ink flow with gentle shakes or applying heat to the pen tip.
A clogged tip may require cleaning to remove debris or dried ink, while a damaged nib might necessitate replacement. For ink leakage, inspect and clean the pen’s interior and check for any structural faults. Low ink levels call for a refill.
Recognizing these common pen problems is the first step toward restoration. Regular maintenance, such as proper storage and frequent use, can help prevent these issues from arising, ensuring a smooth writing experience.
Quick Shake Fix

Having established the importance of identifying pen problems, the quick shake fix is one of the simplest and most immediate remedies. This technique can often revive the ink flow in a momentarily unresponsive pen. This method is straightforward and effective, utilizing kinetic energy to dislodge any potential blockages within the pen’s writing mechanism. Below is a concise guide to employing the quick shake fix.
| Step | Action |
|---|---|
| 1. Prepare | Cap the pen to prevent ink splatters |
| 2. Shake | Use a firm, downward flicking motion |
| 3. Test | Scribble on scrap paper to check flow |
| 4. Repeat if needed | Increase force gradually if necessary |
Cleaning the Pen Tip

A gentle cleaning can often remedy a clogged pen tip, which restores ink flow and improves pen performance. Remove any excess ink or debris by wiping the tip with a soft, lint-free cloth.
Soaking the tip in warm water can dissolve dried ink if the clog persists. For stubborn blockages, a specialized pen cleaning solution is recommended to break down ink residue without damaging the pen’s components.
After cleaning, dab the tip dry and reassemble the pen. Regular maintenance, including proper storage and frequent use, will prevent future clogging.
If these steps fail to resolve the issue, consulting the manufacturer’s guidelines or seeking professional assistance may be necessary to ensure the longevity and functionality of the pen.
Handling Ink Leakage

Addressing ink leakage in pens is essential to prevent damage to the writing instrument and maintain a clean work environment. It can be frustrating and messy when ink leaks, but with proper handling, you can quickly resolve the issue.
First, identify the source of the leakage—whether it’s a loose fitting, a crack in the pen body, or a problem with the ink cartridge. Once identified, take the appropriate action, such as tightening the fitting, replacing the damaged part, or refilling the cartridge correctly.
Below is a table with common solutions for ink leakage:
| Problem Source | Solution |
|---|---|
| Loose Fitting | Tighten the pen’s components. |
| Cracked Barrel | Replace the pen or the affected part. |
| Overfilled Cartridge | Remove excess ink and check the seal. |
| Faulty Nib/Feed | Adjust or replace the nib/feed system. |
Always handle your pen with care to avoid future ink leakage.
Replacing the Nib On Your Fountain Pen
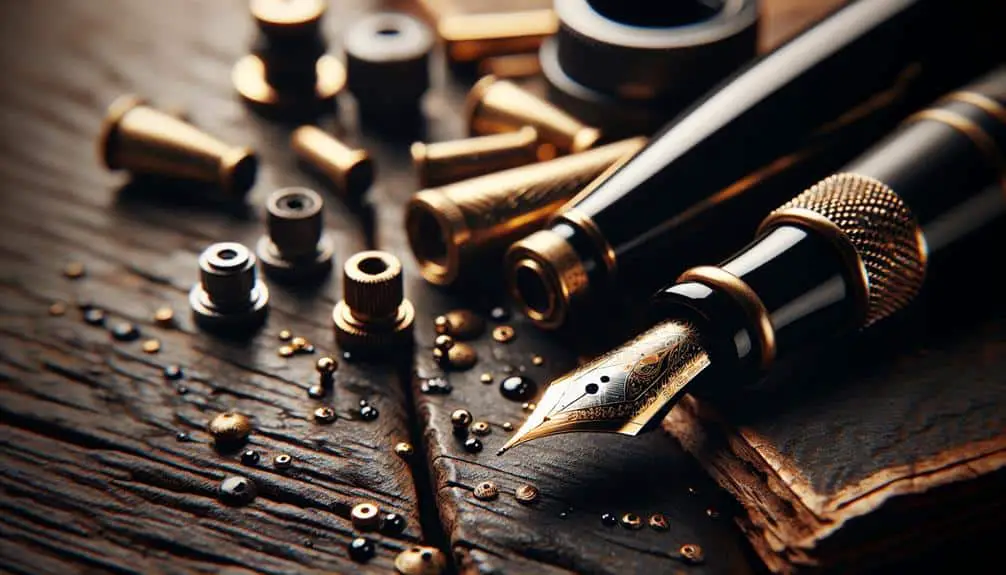
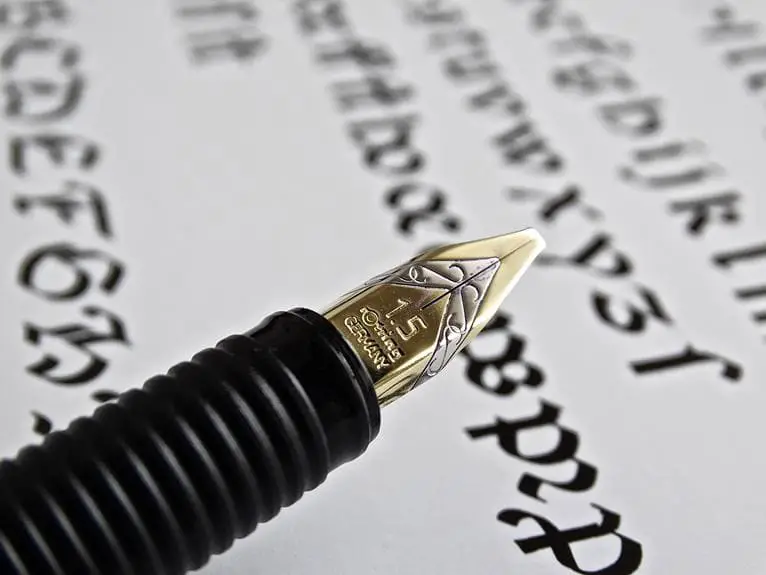
When a pen’s nib becomes damaged or worn out, replacing it is crucial to restore the pen’s writing capabilities. A compromised nib can lead to poor ink flow, scratchy lines, or even the inability to write.
To replace the nib, start by identifying your pen type, as the process can vary significantly between fountain pens, calligraphy pens, and other models. For most fountain pens, gently pull or twist off the old nib, and then insert the new one securely. Ensure the replacement nib is the correct size and type for your pen to avoid ink flow or fit issues.
Regular nib maintenance and immediate replacement when necessary can significantly extend the life of your writing instrument.
Refilling Your Pen

Ensuring your pen has an adequate ink supply is essential for consistent performance, and refilling your pen is a straightforward process that can vary slightly depending on the type of pen in question. The refill method will differ whether you are dealing with a fountain pen, rollerball, or a ballpoint. Here is a table that highlights the key steps for different pen types:
| Pen Type | Refill Method |
|---|---|
| Fountain Pen | Insert a new ink cartridge or use a converter |
| Rollerball | Replace the rollerball cartridge |
| Ballpoint | Twist or pull apart and insert new refill |
| Gel Pen | Similar to ballpoint, replace the gel refill |
Each pen type requires attention to detail to avoid spills and ensure proper function post-refill. Always consult your pen’s manual for the best practices.
Heating the Pen Tip
Applying gentle heat to the pen tip can sometimes resolve ink flow issues, particularly when the ink has dried out. This method is especially useful for fountain pens and gel pens, where ink viscosity can cause interruptions in writing. However, proceeding with caution is important to avoid damaging the pen.
Here are three careful steps to heat your pen tip:
- Hold the tip close to a heat source: Use a lighter or match and pass the flame near the pen tip for a few seconds—do not place it directly in the flame.
- Monitor the heat application: Check the pen frequently to avoid overheating, which could melt or warp the tip.
- Test the pen: After heating, gently scribble on scrap paper to see if the ink begins to flow. If not, repeat the process with moderation.
Warm Water Soak

Submerging the pen tip in warm water can often dissolve dried ink and restore ink flow. This method is particularly effective for fountain pens and ink reservoirs that can be dismantled. Care should be taken to ensure only the nib or writing end is immersed to prevent water from seeping into areas that moisture could damage. After soaking, gently wiping the pen tip with a clean cloth can remove any loosened ink particles.
For your convenience, here is a quick reference table summarizing the process:
| Step | Description |
|---|---|
| 1 | Submerge the pen tip in warm water for a few minutes. |
| 2 | Remove and gently wipe with a soft, lint-free cloth. |
| 3 | Test the pen on scrap paper to check ink flow. |
Pen Maintenance Tips

Regular maintenance of pens is essential to prolong the life and performance of your writing instruments. Proper care prevents common issues such as ink drying and clogging, which can disrupt the smooth flow of your writing. Adhering to a few simple upkeep practices ensures that your pens remain in good working condition for as long as possible.
Here are three key maintenance tips:
- Clean the Nib Regularly: Gently wipe the nib with a damp cloth to remove dried ink and debris, which can cause blockages.
- Store Properly: Keep your pens stored vertically with the tip facing up to prevent ink from settling and potentially leaking.
- Use Quality Ink: Refill your pens with high-quality ink to reduce the risk of clogging and improve writing consistency.
Advanced Troubleshooting Steps

While regular maintenance is critical in preventing pen malfunctions, certain persistent issues may require advanced troubleshooting steps to restore functionality.
If shaking, cleaning, or warming the tip fails, consider examining the pen’s compatibility with the ink used. Some pens are designed to work with specific ink types or brands. A mismatch can lead to poor performance or damage.
If the problem persists, replace the ink cartridge or refill, ensuring the new ink flows properly through the nib or ballpoint mechanism.
For fountain pens, adjusting the nib might be necessary to achieve the desired ink flow. If these methods do not yield results, consult the manufacturer’s instructions for model-specific advice.
If the issue remains unresolved, seeking professional repair services may be the most effective solution.
Conclusion
Restoring a pen’s functionality is achievable through systematic steps.
From the initial identification of the issue to employing quick fixes such as shaking or heating to more intricate processes involving cleaning or replacing components, individuals can effectively address common pen problems.
Regular maintenance and proper storage further prevent future malfunctions.
Advanced troubleshooting may be required for persistent issues, ensuring the longevity and reliability of this essential writing instrument.


